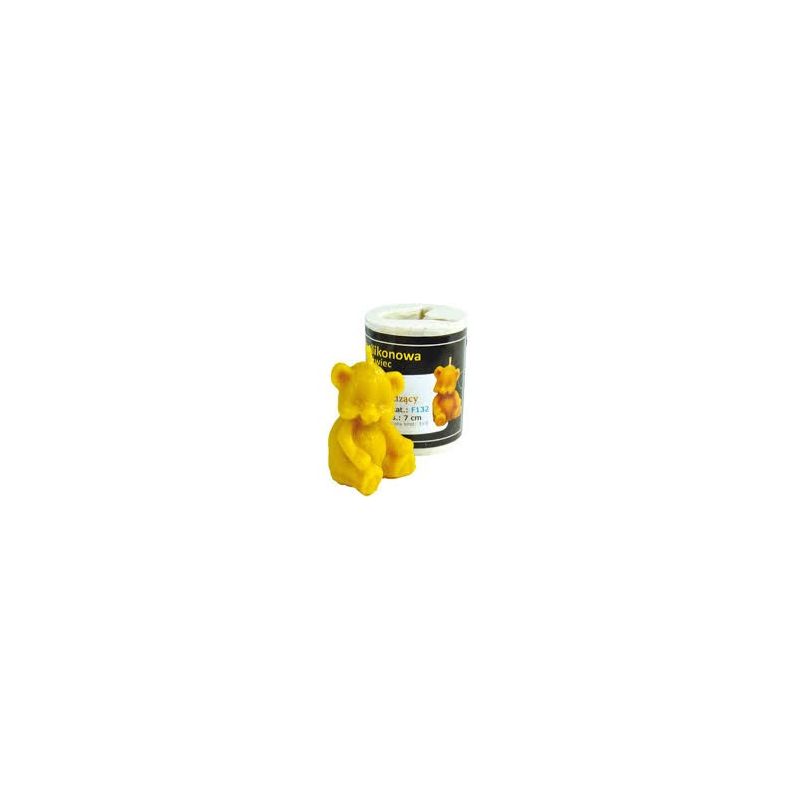
Silicone mold in the shape of a sitting teddy bearMold height: 7 cm - Weight: 35 g Wick: 2 mm Silicone molds can be used for processing different raw materials: beeswax, soy wax, palm wax, kerosene wax, epoxy resin, soap base. They are not suitable for food production.
To make your own beeswax candle you will need: - a silicone mold- a wick of appropriate thickness- a rubber band- a toothpick- silicone (Spray) - optional 1) Preparing the mold:We recommend spraying the mold inside with silicone spray which will make it easier to remove the candle at the end of the process. Insert the wick in the center from the bottom and pop it out from the top. Secure the mold with rubber bands to keep it tightly closed. Tie a wick to the toothpick and rest the latter on the top edge. 2) Fill the mold ocn the wax: Melt the wax in a preferably enameled pot, pour it into the mold when it has reached a temperature of 50°C. Pour it slowly into the mold. The time for the wax to solidify depends on the size of the mold and the amount of wax used. 3) Take the candle out of the mold:When the wax is cold, remove the rubber bands, open the mold and take out the candle. Remove the toothpick and cut the wick at the base of the candle, while on the top leave the wick 1 cm long. Spray the candle with silicone spray to give it shine.
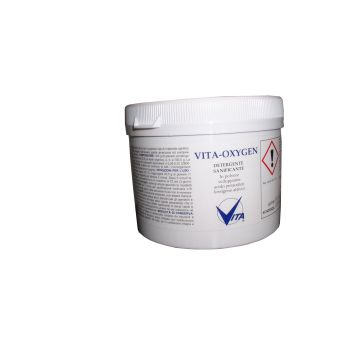
VITA-OXYGEN powder sanitizing detergent developing peracetic acid (active oxygen) Store the product tightly closed, cool and 'dry , away from riducent and flammable materials For disinfection from all Beehive pathogens (American and European foulbrood, nosema ceranae, calcified brood, varroasis-related viruses ) of Beehives, combs and any type of beekeeping material. Characteristics* broad-spectrum disinfectant: sporigenic and nonsporigenic bacteria, fungi and viruses) * remarkable rapidity of disinfection: contact time 30 minutes * non-corrosive on materials Method of usePreparation: dissolve Vita Oxygenin lukewarm water ( 20-30°) at doses of 10 grams per liter for decontamination/disinfection or 20 grams per liter for high-level disinfection. Shake for 2 / 3 minutes until much of the powder has dissolved. Wait the indicated activation time (15 minutes at 10 grams per liter and 30 minutes at 20 grams per liter ) following the label directions . Coarse manual cleaning is recommended to remove wax bridges or substantial propolis formations. Leave in contact with the solution 30 minutes or more. For disinfection of Beehives,frame timbers or other material, prepare suitable contain -tor and fill with solution. Allow the material to soak. Alternatively, spray with disinfet -tant and brush. For disinfecting honeycombs - Dip the honeycombs in the disinfectant solution letting the alveoli fill.Leave them in contact with the disinfectant then drain them by whisking them to empty the alveoli. Alternatively, the disinfectant can be sprayed with nebulizer directly on the combs.With the solution in nebulizer, thoroughly spray the combs or material. Manual application: can also be used to wash with brush and solution. Important Use concentrations and residence times in disinfection that are proportional to the amount of organic matter present to be removed.Disinfection time should be understood to be 30 minutes in cases where wax and propolis are present in superficial layers ( from a few thousandths of a milli-meter to half a millimeter ) such as may be the typical condition of Beehive walls or frame crossbars or uprights or the surface of a pocket feeder ,etc....No rinsing is required as the degradation products turn out to be water, oxygen and acetic acid. The dilute is not hazardous to the operator. The dilute is effective at its maximum potential for a time of 24 hours. Thereafter the sterilization action decreases.
VITA-OXYGEN powder sanitizing detergent developing peracetic acid (active oxygen) Store the product tightly closed, cool and 'dry , away from riducent and flammable materials For disinfection from all Beehive pathogens (American and European foulbrood, nosema ceranae, calcified brood, varroasis-related viruses ) of Beehives, combs and any type of beekeeping material. Characteristics* broad-spectrum disinfectant: sporigenic and nonsporigenic bacteria, fungi and viruses) * remarkable rapidity of disinfection: contact time 30 minutes * non-corrosive on materials Method of usePreparation: dissolve Vita Oxygenin lukewarm water ( 20-30°) at doses of 10 grams per liter for decontamination/disinfection or 20 grams per liter for high-level disinfection. Shake for 2 / 3 minutes until much of the powder has dissolved. Wait the indicated activation time (15 minutes at 10 grams per liter and 30 minutes at 20 grams per liter ) following the label directions . Coarse manual cleaning is recommended to remove wax bridges or substantial propolis formations. Leave in contact with the solution 30 minutes or more. For disinfection of Beehives,frame timbers or other material, prepare suitable contain -tor and fill with solution. Allow the material to soak. Alternatively, spray with disinfet -tant and brush. For disinfecting honeycombs - Dip the honeycombs in the disinfectant solution letting the alveoli fill.Leave them in contact with the disinfectant then drain them by whisking them to empty the alveoli. Alternatively, the disinfectant can be sprayed with nebulizer directly on the combs.With the solution in nebulizer, thoroughly spray the combs or material. Manual application: can also be used to wash with brush and solution. Important Use concentrations and residence times in disinfection that are proportional to the amount of organic matter present to be removed.Disinfection time should be understood to be 30 minutes in cases where wax and propolis are present in superficial layers ( from a few thousandths of a milli-meter to half a millimeter ) such as may be the typical condition of Beehive walls or frame crossbars or uprights or the surface of a pocket feeder ,etc....No rinsing is required as the degradation products turn out to be water, oxygen and acetic acid. The dilute is not hazardous to the operator. The dilute is effective at its maximum potential for a time of 24 hours. Thereafter the sterilization action decreases.


