Special Products
€4,350.00Regular price-€450.00€4,800.00Price
Featured Products

€1.80
Tax included
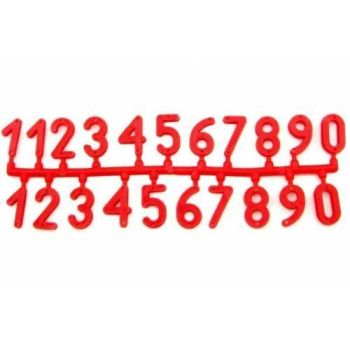
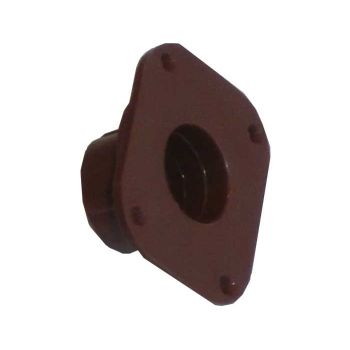
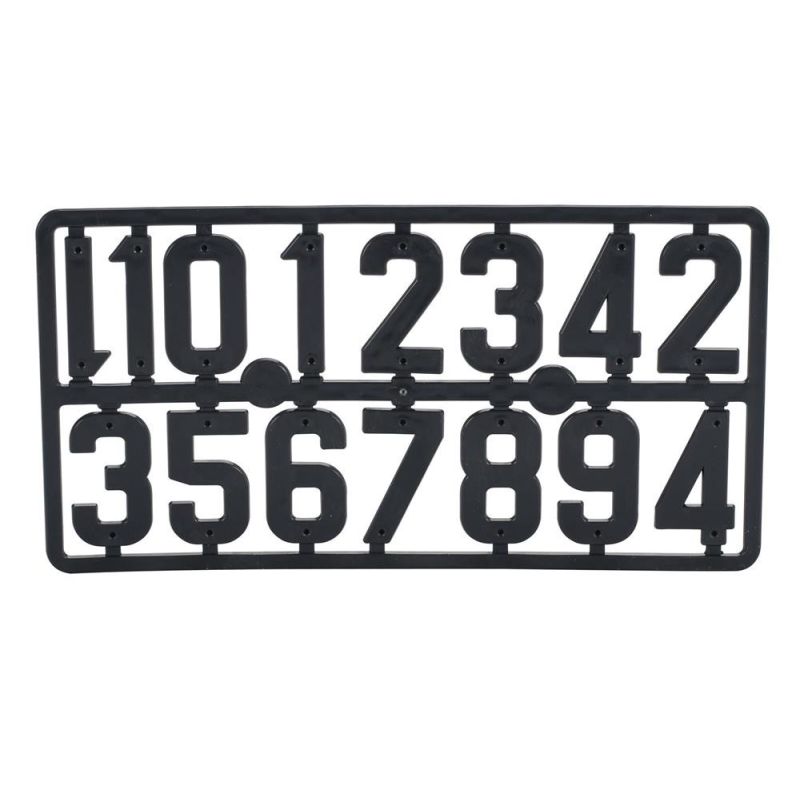
Plastic Numbers plaque to attach to Beehives No. 15 numbers - Height number 4 cm
You might also like
Customers who bought this product also bought:
To make your own beeswax candle you will need: - a silicone mold- a wick of appropriate thickness- a rubber band- a toothpick- silicone (Spray) - optional 1) Preparing the mold:We recommend spraying the mold inside with silicone spray which will make it easier to remove the candle at the end of the process. Insert the wick in the center from the bottom and pop it out from the top. Secure the mold with rubber bands to keep it tightly closed. Tie a wick to the toothpick and rest the latter on the top edge. 2) Fill the mold ocn the wax: Melt the wax in a preferably enameled pot, pour it into the mold when it has reached a temperature of 50°C. Pour it slowly into the mold. The time for the wax to solidify depends on the size of the mold and the amount of wax used. 3) Take the candle out of the mold:When the wax is cold, remove the rubber bands, open the mold and take out the candle. Remove the toothpick and cut the wick at the base of the candle, while on the top leave the wick 1 cm long. Spray the candle with silicone spray to give it shine.
€17.80Price
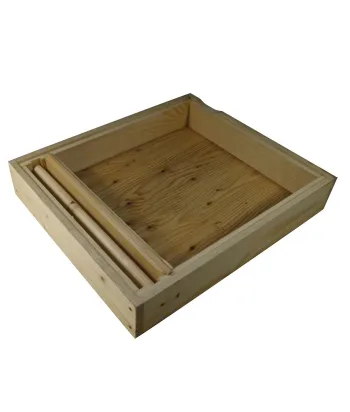
- Possibility of inserting up to 5 slats (STECCA Cod. QI S144)
€13.80Price
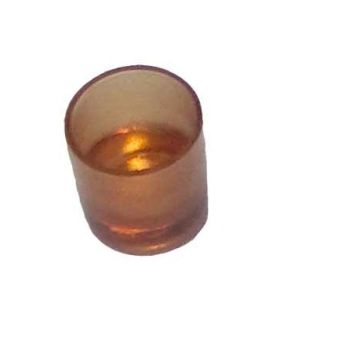
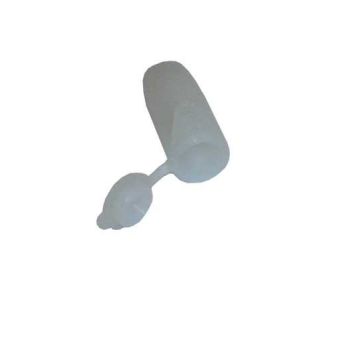
Made in collaboration with Jacques KEMP, it reproduces the royal cell. It allows the virgin queen to be born. It is necessary to insert her that is at most one day old and place her inside the family or orphan nucleus. Before introducing inside the artificial cell the queen , wax domes of a consistent thickness must be prepared. Following this, three small aeration holes must be drilled on the same with a hot needle. At this point the queen is inserted into the dummy cell, taking care to have well applied at the end the dome. Doing so will result in an artificial cell with a selected day-old queen inside.
€0.30Price
