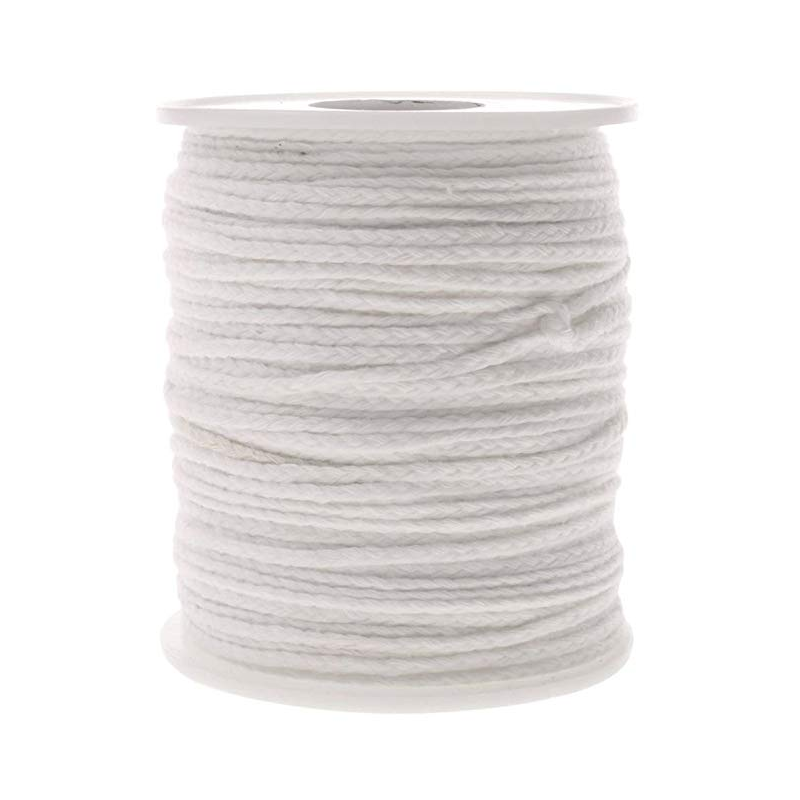
To make your own beeswax candle you will need: - a silicone mold- a wick of appropriate thickness- a rubber band- a toothpick- silicone (Spray) - optional 1) Preparing the mold:We recommend spraying the mold inside with silicone spray which will make it easier to remove the candle at the end of the process. Insert the wick in the center from the bottom and pop it out from the top. Secure the mold with rubber bands to keep it tightly closed. Tie a wick to the toothpick and rest the latter on the top edge. 2) Fill the mold ocn the wax: Melt the wax in a preferably enameled pot, pour it into the mold when it has reached a temperature of 50°C. Pour it slowly into the mold. The time for the wax to solidify depends on the size of the mold and the amount of wax used. 3) Take the candle out of the mold:When the wax is cold, remove the rubber bands, open the mold and take out the candle. Remove the toothpick and cut the wick at the base of the candle, while on the top leave the wick 1 cm long. Spray the candle with silicone spray to give it shine.
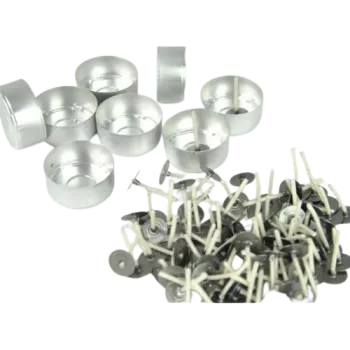
To make your own beeswax candle you will need: - a silicone mold- a wick of appropriate thickness- a rubber band- a toothpick- silicone (Spray) - optional 1) Preparing the mold:We recommend spraying the mold inside with silicone spray which will make it easier to remove the candle at the end of the process. Insert the wick in the center from the bottom and pop it out from the top. Secure the mold with rubber bands to keep it tightly closed. Tie a wick to the toothpick and rest the latter on the top edge. 2) Fill the mold with wax: Melt the wax in a preferably enameled pot, pour it into the mold when it has reached a temperature of 50°C. Pour it slowly into the mold. The time for the wax to solidify depends on the size of the mold and the amount of wax used. 3) Take the candle out of the mold:When the wax is cold, remove the rubber bands, open the mold and take out the candle. Remove the toothpick and cut the wick at the base of the candle, while on the top leave the wick 1 cm long. Spray the candle with silicone spray to give it shine.
To make your own beeswax candle you will need: - a silicone mold- a wick of appropriate thickness- a rubber band- a toothpick- silicone (Spray) - optional 1) Preparing the mold:We recommend spraying the mold inside with silicone spray which will make it easier to remove the candle at the end of the process. Insert the wick in the center from the bottom and pop it out from the top. Secure the mold with rubber bands to keep it tightly closed. Tie a wick to the toothpick and rest the latter on the top edge. 2) Fill the mold ocn the wax: Melt the wax in a preferably enameled pot, pour it into the mold when it has reached a temperature of 50°C. Pour it slowly into the mold. The time for the wax to solidify depends on the size of the mold and the amount of wax used. 3) Take the candle out of the mold:When the wax is cold, remove the rubber bands, open the mold and take out the candle. Remove the toothpick and cut the wick at the base of the candle, while on the top leave the wick 1 cm long. Spray the candle with silicone spray to give it shine.
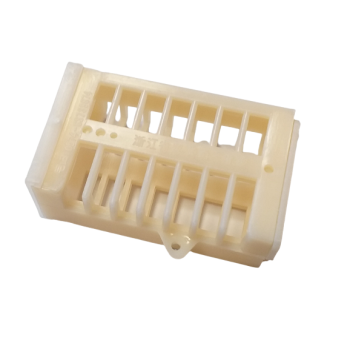
Beetle Blaster is a NON-chemical trap for trapping and monitoring Aethina Tumida The trap should be placed between the frames as shown in the photo; multiple traps can be inserted depending on the infestation or the size of the Beehive.The bees try to drive away the beetle that tries to hide in the traps attracted by the dark entrance holes; it is thus trapped in the liquid inside (about 25-30 ml of mineral oil, apple cider vinegar or vegetable oil).It is recommended to keep the trap for no more than 2 weeks and monitor.Once the trap is full remove it by lifting it with a lever on all sides and slightly widening the frames to facilitate the operation.