€4,350.00Regular price-€450.00€4,800.00Price


30 gWith Lipovim®, from organic Tuscan pomace and blueberryA black clay mask rich in micronutrient minerals and with a detoxifying effect for healthy, supple and smooth skin. The clay acts in synergy with Lipovim®, an exclusive liposome from organic Tuscan grape pomace and blueberry, with antioxidant and protective-restoring properties. Lipovim® delivers the antioxidant actives of the encapsulated fruits to the skin, preserving and enhancing their properties. Thanks also to the presence of emollient substances, this mask has a creamy texture that is comfortable on the skin, leaving it clean and radiant.
DIRECTIONS: Apply all over the face or to a specific area for multimasking use, com- bined with the other Biofficina Toscana clay masks. Leave on for 15 minutes and rinse. The clay masks come with an open-close cap and can be used multiple timesApply a Biofficina Toscana serum or face essence before the mask, so that even the most delicate and irritable skin is prepared for the treatment.
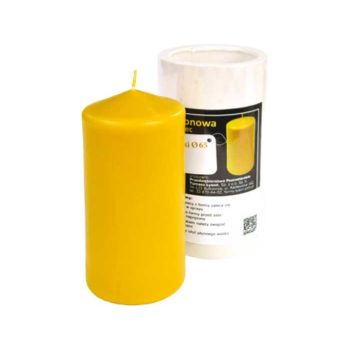
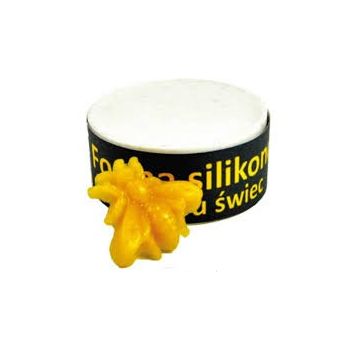
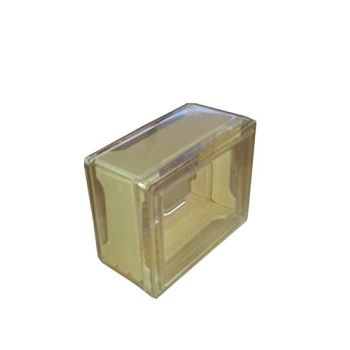
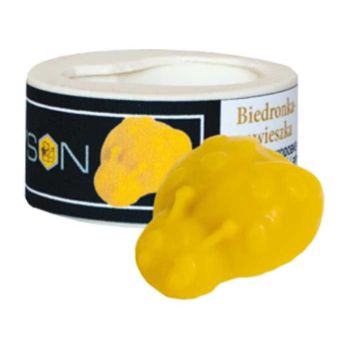
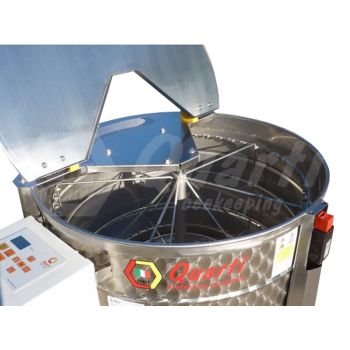
To make your own beeswax candle you will need: - a silicone mold- a wick of appropriate thickness- a rubber band- a toothpick- silicone (Spray) - optional 1) Preparing the mold:We recommend spraying the mold inside with silicone spray which will make it easier to remove the candle at the end of the process. Insert the wick in the center from the bottom and pop it out from the top. Secure the mold with rubber bands to keep it tightly closed. Tie a wick to the toothpick and rest the latter on the top edge. 2) Fill the mold ocn the wax: Melt the wax in a preferably enameled pot, pour it into the mold when it has reached a temperature of 50°C. Pour it slowly into the mold. The time for the wax to solidify depends on the size of the mold and the amount of wax used. 3) Take the candle out of the mold:When the wax is cold, remove the rubber bands, open the mold and take out the candle. Remove the toothpick and cut the wick at the base of the candle, while on the top leave the wick 1 cm long. Spray the candle with silicone spray to give it shine.
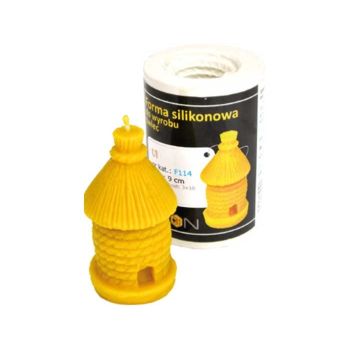
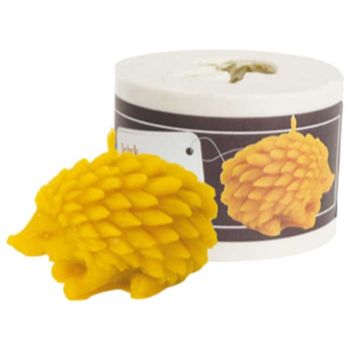
To make your own beeswax candle you will need: - a silicone mold- a wick of appropriate thickness- a rubber band- a toothpick- silicone (Spray) - optional 1) Preparing the mold:We recommend spraying the mold inside with silicone spray which will make it easier to remove the candle at the end of the process. Insert the wick in the center from the bottom and pop it out from the top. Secure the mold with rubber bands to keep it tightly closed. Tie a wick to the toothpick and rest the latter on the top edge. 2) Fill the mold ocn the wax: Melt the wax in a preferably enameled pot, pour it into the mold when it has reached a temperature of 50°C. Pour it slowly into the mold. The time for the wax to solidify depends on the size of the mold and the amount of wax used. 3) Take the candle out of the mold:When the wax is cold, remove the rubber bands, open the mold and take out the candle. Remove the toothpick and cut the wick at the base of the candle, while on the top leave the wick 1 cm long. Spray the candle with silicone spray to give it shine.
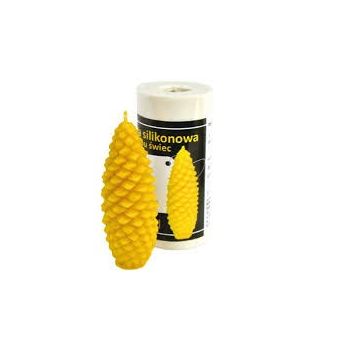
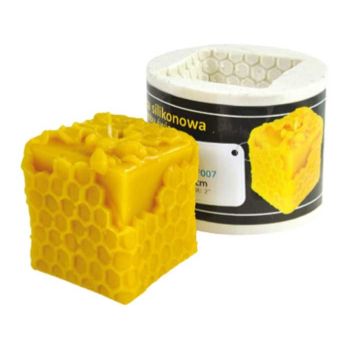
To make your own beeswax candle you will need: - a silicone mold- a wick of appropriate thickness- a rubber band- a toothpick- silicone (Spray) - optional 1) Preparing the mold:We recommend spraying the mold inside with silicone spray which will make it easier to remove the candle at the end of the process. Insert the wick in the center from the bottom and pop it out from the top. Secure the mold with rubber bands to keep it tightly closed. Tie a wick to the toothpick and rest the latter on the top edge. 2) Fill the mold ocn the wax: Melt the wax in a preferably enameled pot, pour it into the mold when it has reached a temperature of 50°C. Pour it slowly into the mold. The time for the wax to solidify depends on the size of the mold and the amount of wax used. 3) Take the candle out of the mold:When the wax is cold, remove the rubber bands, open the mold and take out the candle. Remove the toothpick and cut the wick at the base of the candle, while on the top leave the wick 1 cm long. Spray the candle with silicone spray to give it shine.
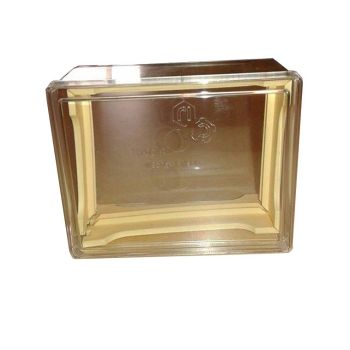
To make your own beeswax candle you will need: - a silicone mold- a wick of appropriate thickness- a rubber band- a toothpick- silicone (Spray) - optional 1) Preparing the mold:We recommend spraying the mold inside with silicone spray which will make it easier to remove the candle at the end of the process. Insert the wick in the center from the bottom and pop it out from the top. Secure the mold with rubber bands to keep it tightly closed. Tie a wick to the toothpick and rest the latter on the top edge. 2) Fill the mold ocn the wax: Melt the wax in a preferably enameled pot, pour it into the mold when it has reached a temperature of 50°C. Pour it slowly into the mold. The time for the wax to solidify depends on the size of the mold and the amount of wax used. 3) Take the candle out of the mold:When the wax is cold, remove the rubber bands, open the mold and take out the candle. Remove the toothpick and cut the wick at the base of the candle, while on the top leave the wick 1 cm long. Spray the candle with silicone spray to give it shine.
30 gWith Lipovim®, from organic Tuscan pomace and blueberryA black clay mask rich in micronutrient minerals and with a detoxifying effect for healthy, supple and smooth skin. The clay acts in synergy with Lipovim®, an exclusive liposome from organic Tuscan grape pomace and blueberry, with antioxidant and protective-restoring properties. Lipovim® delivers the antioxidant actives of the encapsulated fruits to the skin, preserving and enhancing their properties. Thanks also to the presence of emollient substances, this mask has a creamy texture that is comfortable on the skin, leaving it clean and radiant.